Showing posts with label holidays. Show all posts

Saturday, December 8, 2012

november photos

So, I didn't get all the pics on November's list. But I'm sharing what I ended up with! Happy End-of-Fall!

(Not quite) Crimson
Thankful for these guys
Family
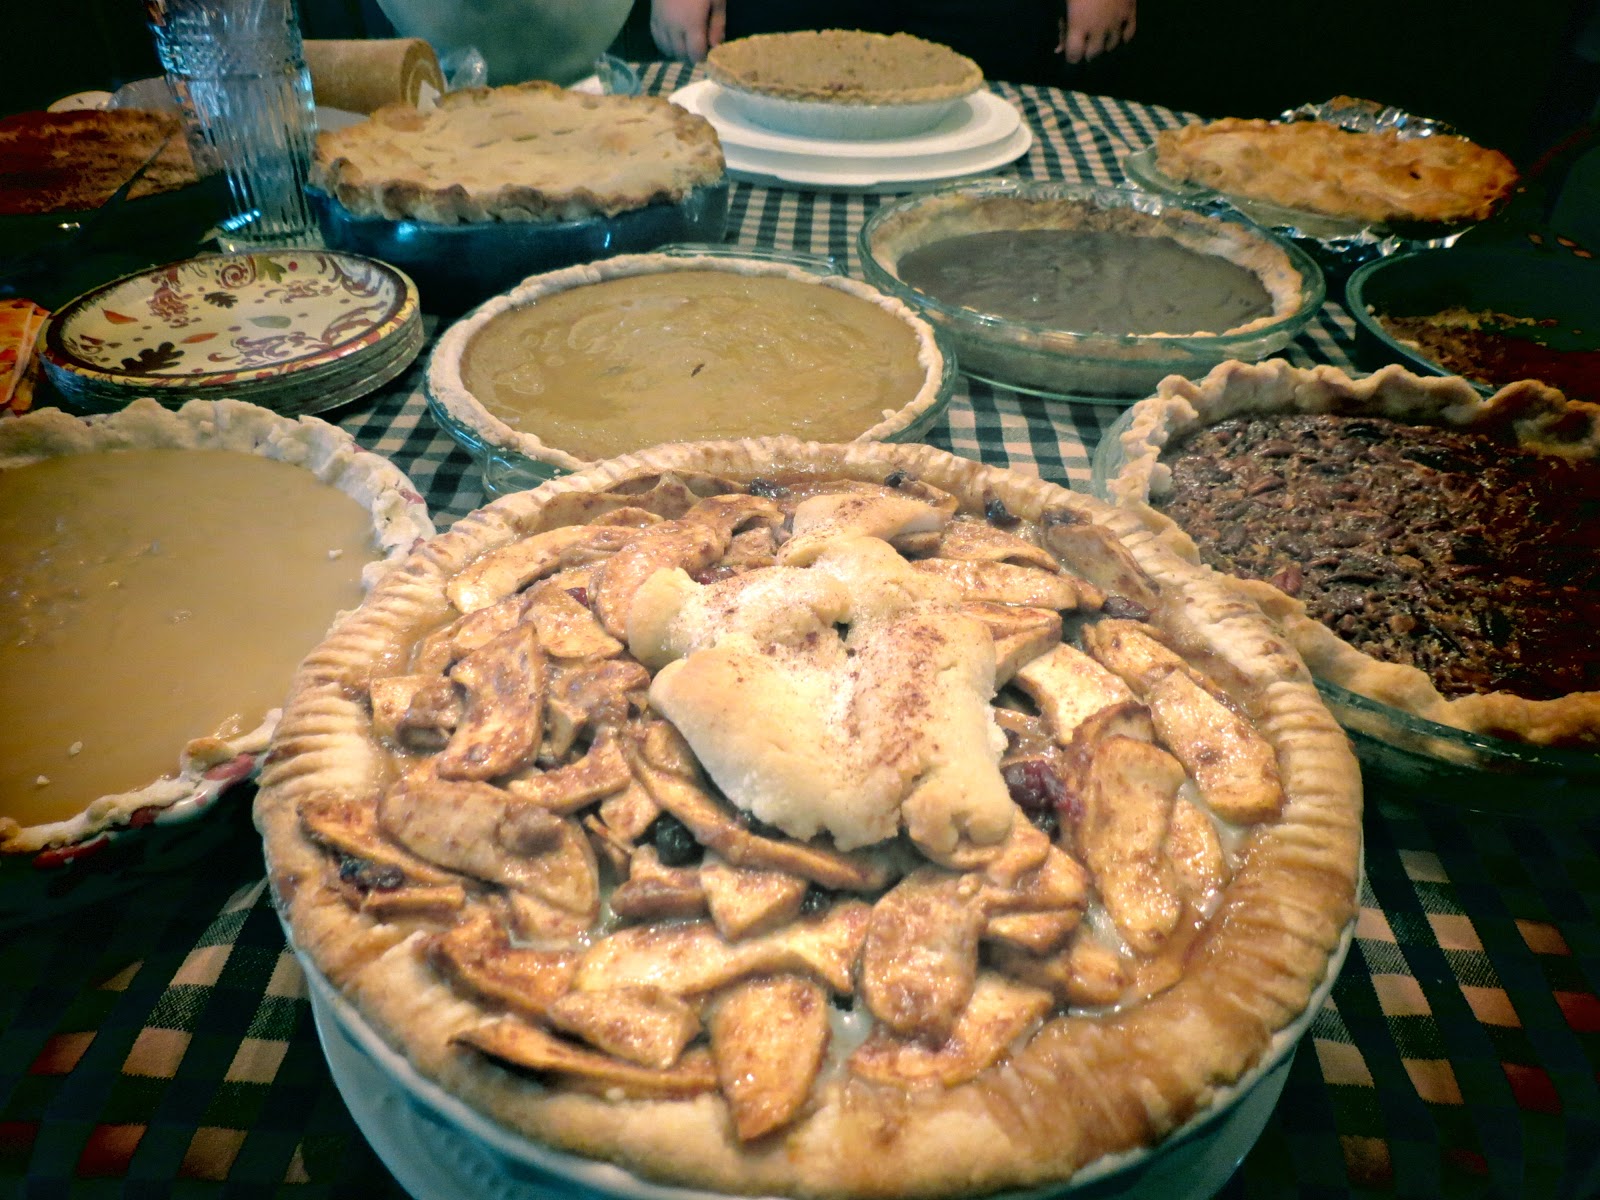
I ate this (lots of pie)
Glass
(She always makes me) Smile
Kitchen
Plenty to be thankful for


Thursday, September 27, 2012

diy pumpkin pie spice

Ahh, fall. Is it the cooler weather? The leaves changing colors? I just want to wrap up in a warm sweater and sip on a hot drink.

In our house, we have a cheater pumpkin steamer recipe, which is perfect for fall. The problem last night was that it called for pumpkin pie spice, of which we had none in the cupboards. A google search later, I learned from Annie's Eats that most everyone has what they need to make a batch of diy pumpkin pie spice from the spice rack on their countertop. Also, it gave me a good reason to use the nesting doll measuring spoons Alex got me for Christmas.

diy pumpkin pie spice:
2 tbsp. ground cinnamon
1 tbsp. ground ginger

1½ tsp. ground allspice

1½ tsp. ground cloves
¾ tsp. ground nutmeg


Saturday, April 7, 2012

natural egg dyes

lavender buds
grass
red onion skins / strong coffee


We used: 
grass - yellow
lavender buds - green/blue
strong coffee - brown
red onion skins - orange
beet juice - pink

At least, that is how the colors were supposed to turn out! This was my first attempt at natural dyes ever, and I'm not sure I did a great job... Once I poured the grass and lavender dyes into the jars, I added a teaspoon of vinegar, at which point they turned clear! (Oops) So I added good old artificial green and blue food coloring to those. The beet juice made the eggs a very cream color, instead of the lovely pink I had imagined. Although once dried, little pink spots appeared. All in all, I could use some more practice, or perhaps advice from professionals. Have you used natural dyes? What is your favorite recipe?

Wednesday, April 4, 2012

easter garden

Happy Holy Week! We dug up some moss in the back yard to make a quick potted Easter garden just in time for Palm Sunday. It's a great visual reminder of what Easter is all about.

Monday, February 6, 2012

lovely valentine projects

Valentine's Day is almost here! I made a list of some of my favorite Valentine-related projects that I found this year:


Monday, January 30, 2012

salt dough hearts

We're getting ready for Valentine's Day! This was my first time making salt dough ornaments. It was so much fun! (even though I had to keep convincing the kids that they were not cookies.) I got my recipe here. I thought I would give my letter stamps a try in the dough. I liked how they looked in the dough, but I'm not sure I would do it again, just because the end product (after baking and after painting) was unpredictable. 


Sunday, January 22, 2012

fabric-scrap garland

I heart garland, you know. So I made a couple different ones for Christmas. After seeing this on Pinterest, I got out my red and white baker's string, cut up red and green fabric scraps into strips, and started tying them to the string. Easy-peazy:


Monday, January 9, 2012

diy glass ball photo ornaments

I didn't blog much in December. Not that I wasn't crafting like crazy--but because most everything was top secret, as they were Christmas presents. I will try to catch up now that it is January. Hooray for planning for next year!

I thought would be fun to personalize some glass ball ornaments for family members. I found this tutorial, and followed it loosely. I loved the results, and plan to make more for next year. Maybe a whole tree of memories from Christmases past? I think that would be nice.


DIY Glass Ball Photo Ornaments

Materials:

  • package of glass ball ornaments
  • vellum sheets
  • computer & printer
  • scissors
  • tweezers
Directions:
  1. Pick out photos you want to use. Resize them so that about 6 will easily fit on one page.
  2. Print the photos on vellum.
  3. Cut out the area of the photo you'd like to use. I found that about a 1-1/2" by 2-1/2" square, with rounded corners works best. (It may take a little trial and error to find what size works best for you.
  4. Take the hanger off of an ornament. Carefully roll the photo so it's long and skinny, and put it into the ornament.
  5. Use tweezers to gently unroll the photo and put it into place inside the glass ball.
  6. Replace hanger.


Tuesday, January 3, 2012

xmas photos

Merry Christmas and Happy New Year! I pray all is well with you at the start to 2012. I got a new camera for Christmas! Now I need to learn to use it. To help in this process, I'm joining a photo-along, led by my friend Shannie, in which I'll post a few photos each month along with some friends:

bundled up and sledding


upside down snowman

snuggling with grandpa h

playing with grandpa a

first ice cream cone of the year

Friday, December 16, 2011

Vintage St. Nick

He's just so friendly, with a twinkle in his eye.


There will be more about Santa's workshop in my house soon. Merry Christmas-ing to you!